Most land marketing fails for one of two reasons:
- The listing is not clear enough for buyers to decide.
- The listing is not distributed where the right buyers shop.
This 30-day plan fixes both. It focuses on packaging the property so buyers trust it, then pushing that package into the channels that matter. If you want a quick clarity upgrade, add one photoreal concept visual that shows a realistic best use on the actual photo. Listing Wand can generate that in minutes; see Demo and Features.
Day 0: Build Your Launch Kit (Before Posting)
Prepare:
- Parcel basics: APN, legal description, coordinates, acreage
- Access notes and easement documents (if applicable)
- Utility notes: power, water, sewer or septic feasibility (if known)
- Zoning and restriction notes (if applicable)
- 15-30 ground photos, plus maps
- A one-page property packet you can send by text or email
- Optional: 1 concept visual labeled as an artist rendering
If you want to add the concept visual, run a quick walkthrough on Try and follow the workflow on How To. For watermarking, see Features. For interior listing photos, use real estate virtual staging to stage rooms, clean up clutter, and keep disclosure attached.
Day 1: Publish The Core Listing Everywhere You Control
- MLS (if applicable)
- Your brokerage website
- Your email list (if you have one)
- Land marketplace profiles (if applicable)
- A dedicated landing page or packet link
Include:
- A clear headline (best use + location driver)
- 5-8 bullet highlights
- Maps and access proof photos
- A short FAQ block (buildability, utilities, access)
Need help writing? Use Land Listing Description Template.
Days 2-3: Social Launch (Clarity Over Hype)
Post formats that work:
- A 6-10 image carousel: access, build pad, views, map, concept visual
- A short video walk: road approach, entrance, best spot
- A simple map-first post with 3 facts: acres, access, utilities
If you are using a concept visual, label it clearly as an artist rendering. For examples, browse Features.
Days 4-7: Follow-up System (The Boring Part That Sells Land)
Set a response standard:
- Respond within 15 minutes during business hours.
- Send the packet immediately when someone asks questions.
- Offer a short call only after they have the facts.
A simple response script:
“Thanks for reaching out. The key details are: [ACRES], [ACCESS], [UTILITIES], and [BEST USE]. I can send a one-page packet with maps and notes. What email or number should I text it to?”
Week 2: Refresh Presentation Before You Cut Price
If you have views but low inquiries, refresh presentation first:
- Replace the hero image with a clearer access/build-pad shot.
- Add one better map.
- Add one concept visual that makes best use obvious.
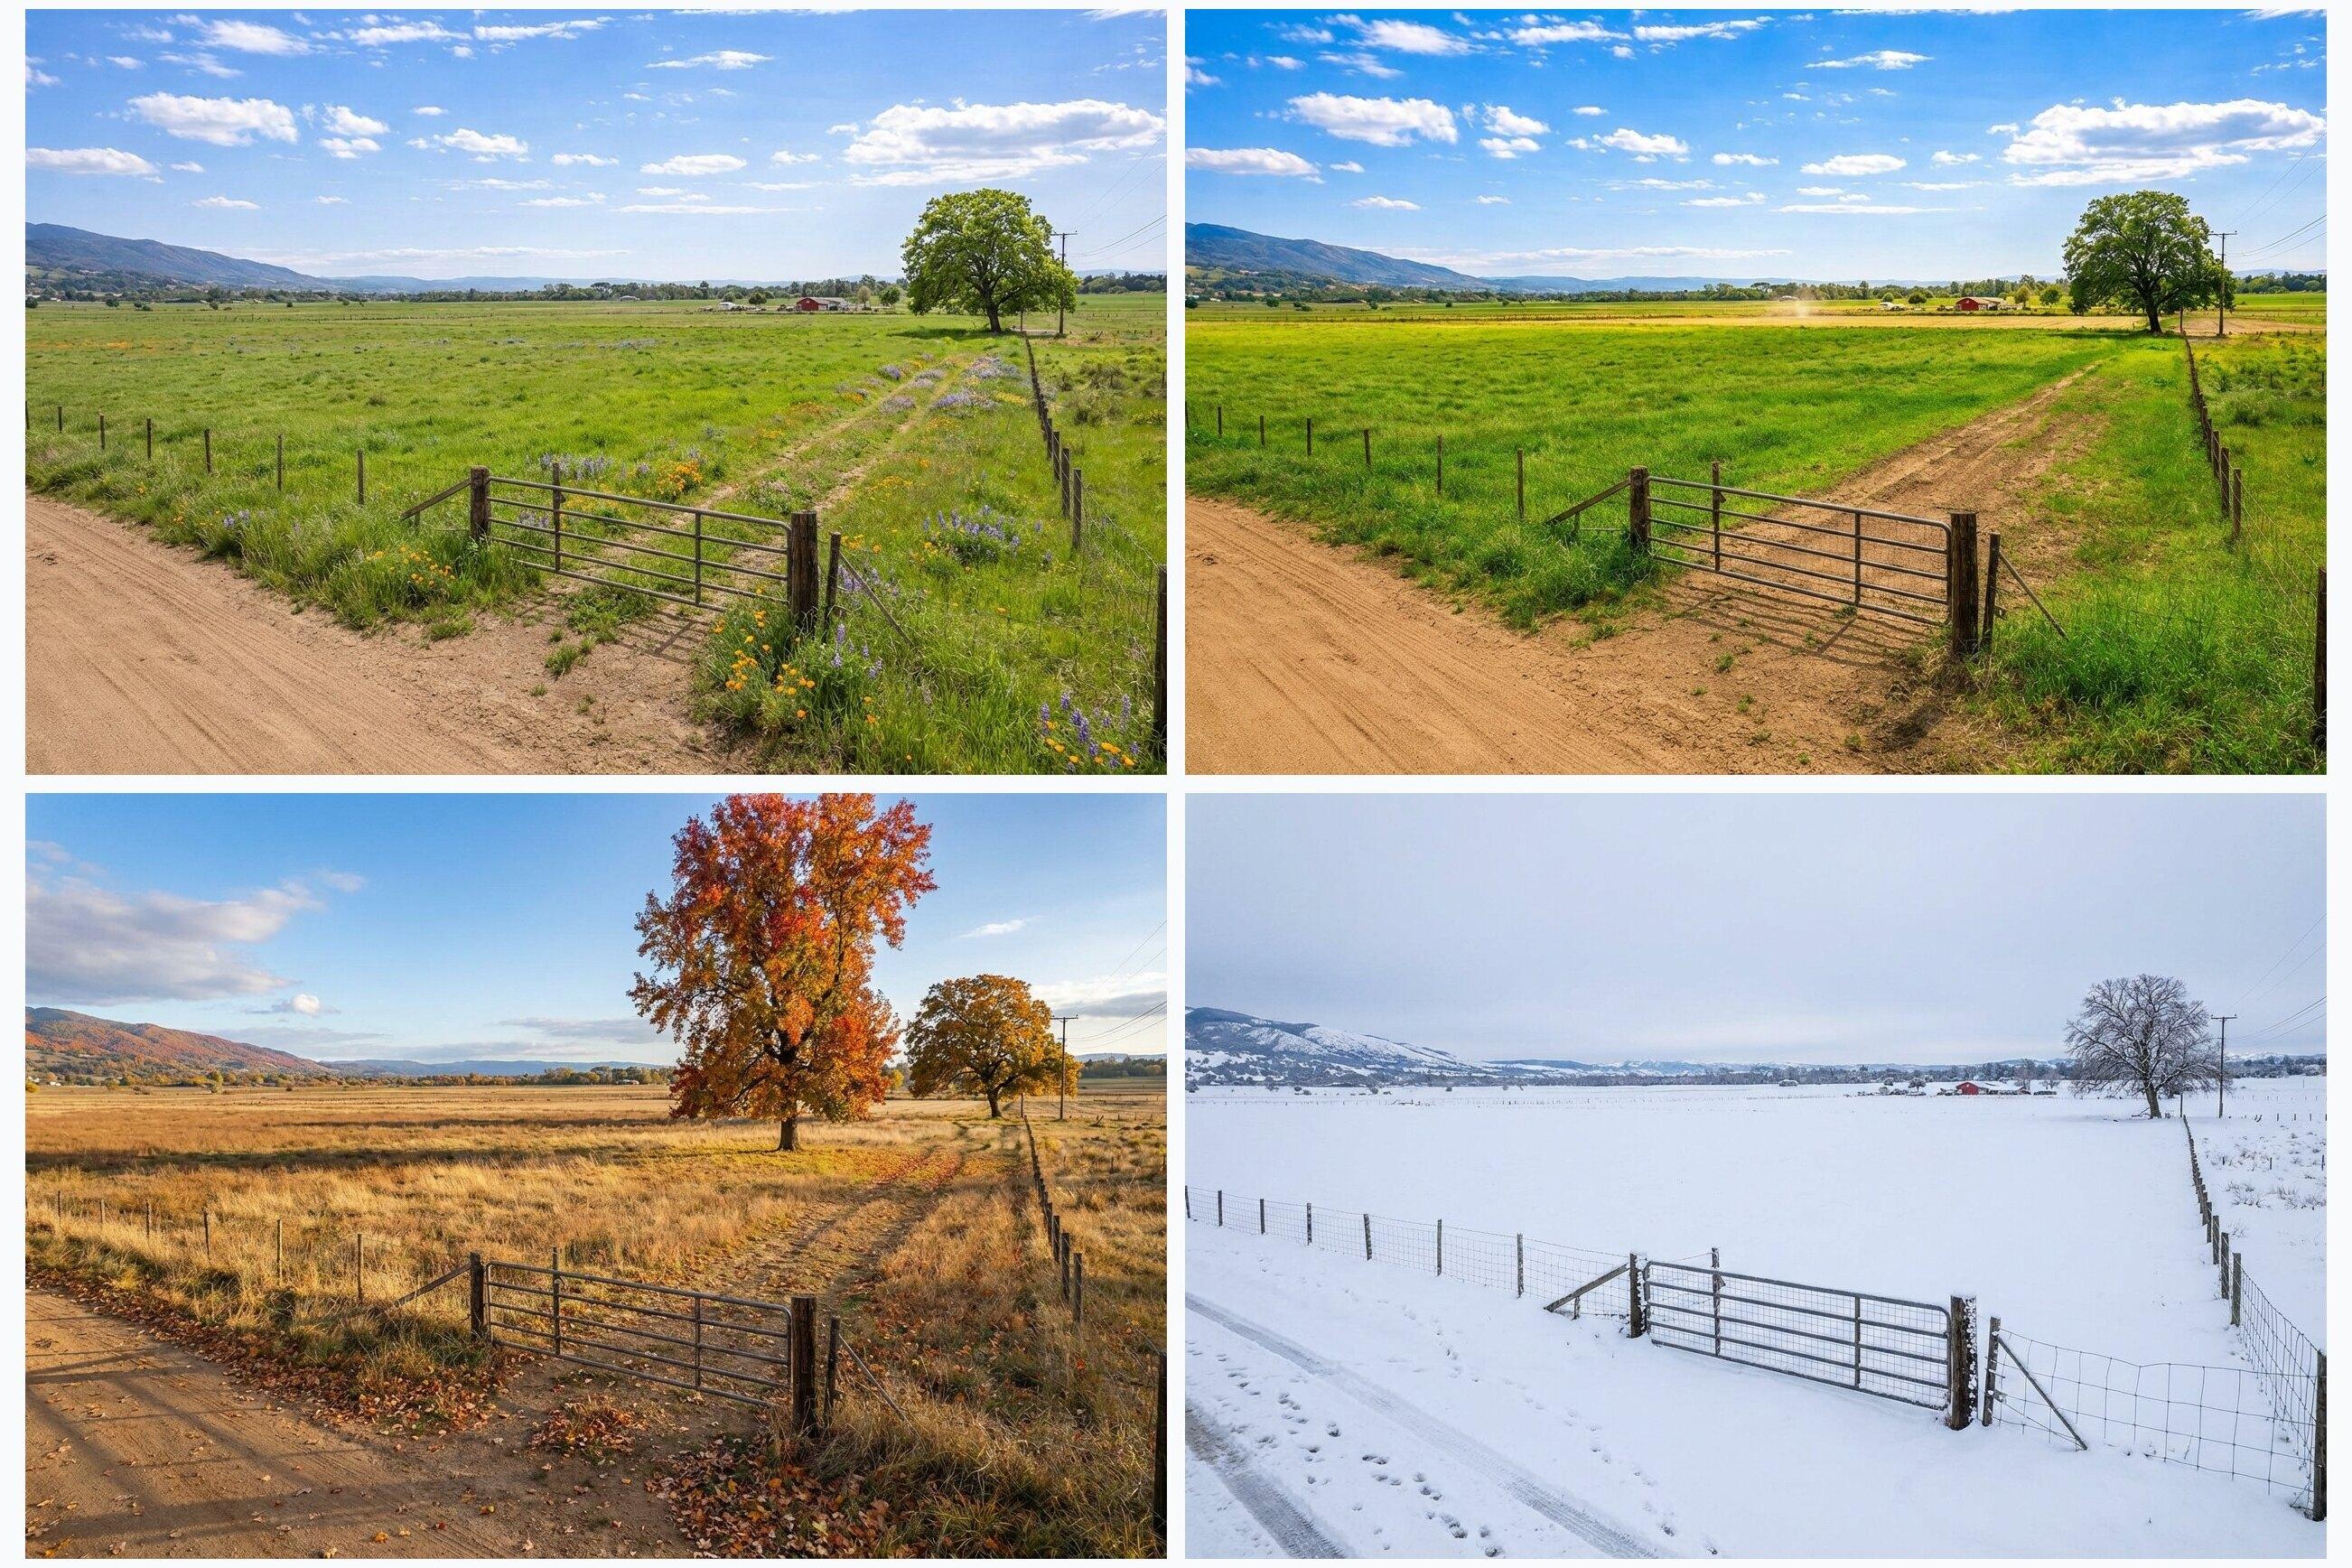
- Add a seasonal variant if season drastically changes the vibe.
Listing Wand can generate seasonal variants and an all four seasons set. See Features.
Week 3: Expand Distribution
- Repost with new angles and the refreshed media stack.
- Post in groups that match your buyer (builders, homesteaders, recreation).
- Reach out peer-to-peer with a short packet link and 3 highlights.
- Send active buyer contacts a short email with the top facts and maps.
Week 4: Decide On A Price Action (With Data)
By week 4 you should have enough signals:
- If you have inquiries and showings but no offers, review price and objections.
- If you have low inquiries, price is likely high or clarity is low.
- If you have almost no views, distribution is the issue.
For pricing and comps, use How to Price Land.
Want the fastest overview? Start with How to Sell Vacant Land.