Selling land is not like selling a house. Most buyers cannot walk through the value, and raw photos often feel abstract. The land listings that move usually do three things well:
- Price the parcel like a buyer will underwrite it (access, utilities, buildability).
- Package information so buyers can decide quickly (maps, notes, docs).
- Show the vision so the property feels real (great photos plus clear visuals).
If you are getting views but no offers, you may not have a traffic problem. You may have a clarity problem.
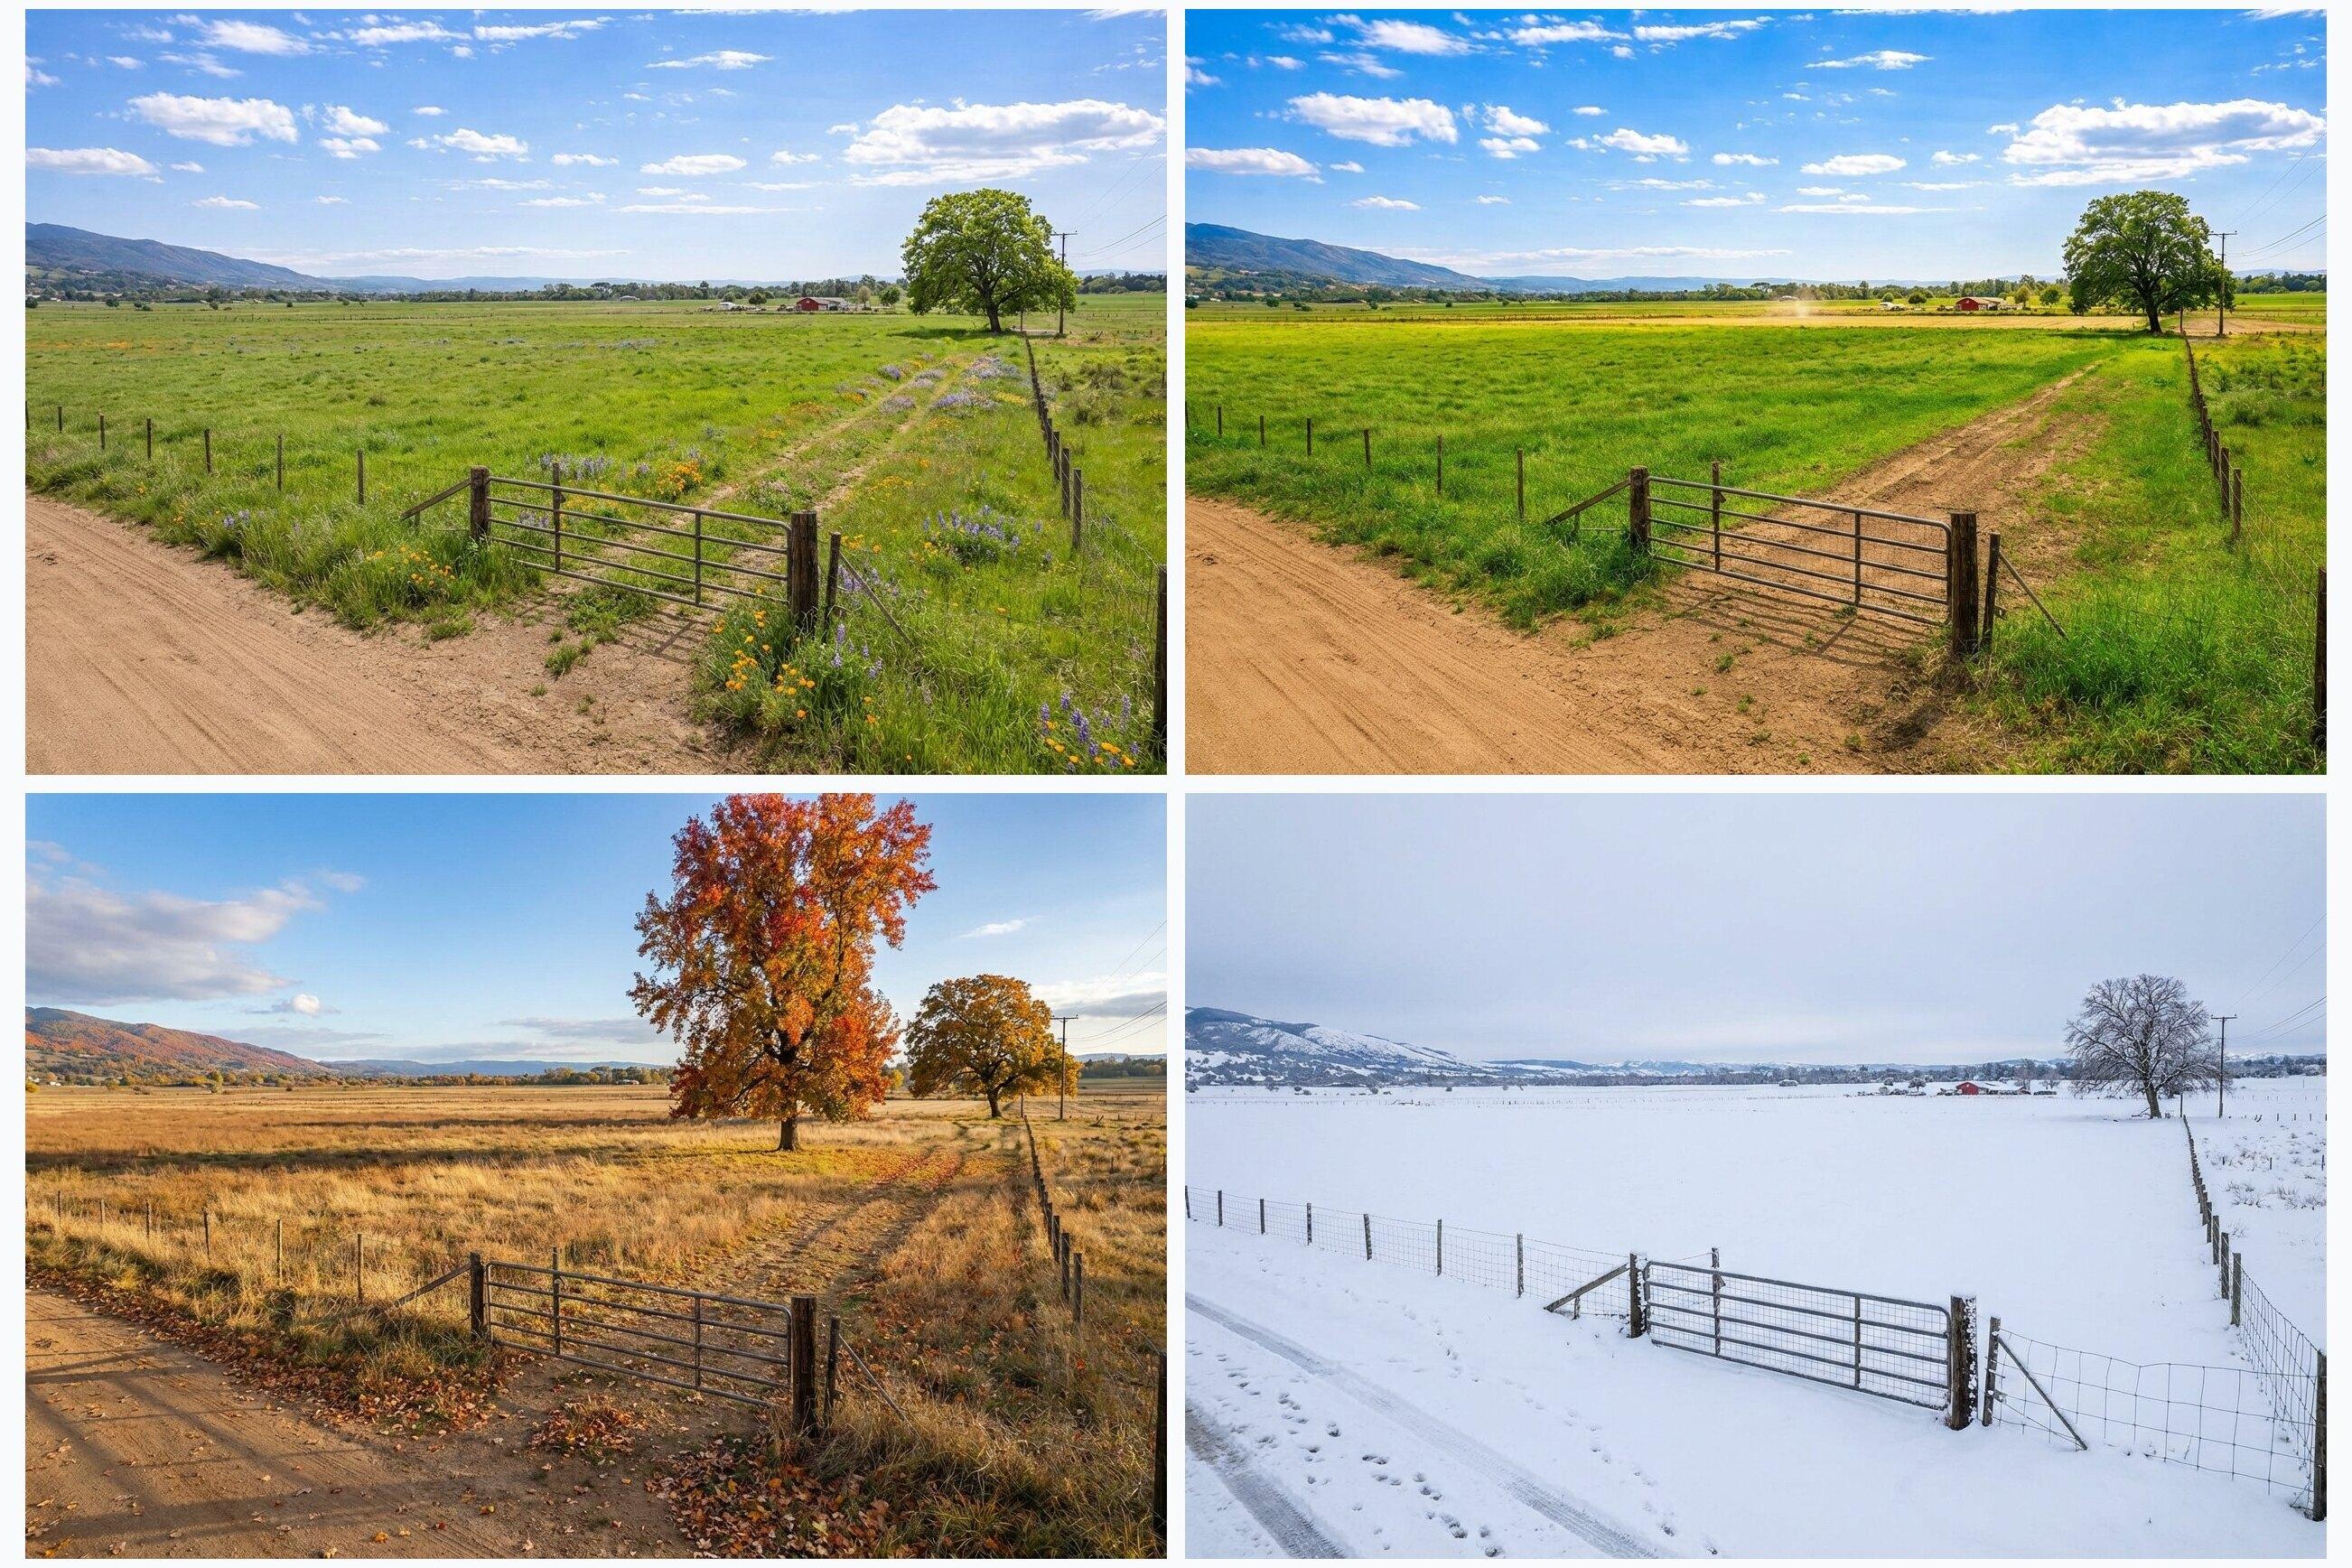
One fast way to fix clarity is to add a photoreal concept visual that helps buyers picture a plausible use. Listing Wand was built for this: turn a land photo into a structure concept and seasonal variants in minutes. Watch the demo or run the guided walkthrough on Try Magic Studio.
The Land-Selling Checklist (Quick Version)
- Confirm basics: access, boundaries, legal description, easements.
- Identify the most likely buyer and best use.
- Price off true land comps (sold when possible), then pick a strategy.
- Build a property packet buyers can skim in 3 minutes.
- Produce a media stack: ground photos, optional drone shots, maps, and one concept visual.
- Publish where your buyer shops, then respond fast with specific facts.
- Track feedback, adjust price or presentation, and refresh visuals if needed.
Step 1: Define The Best Use And The Buyer
Before pricing, decide what you are actually selling:
- Buildable homesite
- Recreational weekend property
- Hunting tract
- Small homestead acreage
- Development opportunity (subdivision or small builder)
- Agricultural or timber value
Your buyer determines everything: which details matter, where you market, and what objections you will hear. A homesite buyer cares about access, utilities, soils, and setbacks. A recreational buyer cares about terrain, cover, water, and nearby attractions.
Step 2: Build A Property Info Packet (Buyers Love This)
Make it easy for buyers to evaluate. Create a simple packet you can email or text on request:
- Parcel ID and address or GPS coordinates
- Acreage and (if known) dimensions and road frontage
- Boundary map (a county GIS screenshot is fine)
- Access notes: public or private road, easements, maintenance
- Utilities: power, water, sewer or septic feasibility (if known)
- Zoning and restrictions (if applicable)
- Flood zone, wetlands, or other constraints (if known)
- A short best-build-spot note (where a driveway or pad could go)
If you sell land often, keep this as a repeatable template. For the best build spot, a single visual often communicates more than a full paragraph. See examples on Features.
Step 3: Price It With Land Comps (And Pick A Strategy)
Land pricing is sensitive to one wrong assumption. Use comps that match access, utilities, buildability, and distance to the demand driver.
If you want a structured pricing workflow, start with How to Price Land, then use Vacant Land Comps to tighten your comp selection. If you want a quick estimate tool, see Land Pricing Calculator.
Step 4: Create A Media Stack That Sells Land
A strong land listing usually includes:
- 12-30 ground photos that show access, terrain, and views
- 3-8 drone photos (optional, but powerful)
- 1-3 simple maps (location, boundary, topo when terrain matters)
- 1 photoreal concept visual (optional, but often the difference-maker)
That last item is where many land listings fall apart. Buyers cannot picture the future, so they delay. A concept visual is not an engineering plan, but it helps the buyer emotionally commit to the idea. Listing Wand can generate a cabin, home, glamping layout, or subdivision concept directly on your real listing photo. Start at Try and use the step-by-step workflow on How To.
For a practical photo shot list, use Land Listing Photos That Sell.
Step 5: Publish Where Land Buyers Shop
Start with your primary channel (MLS if you use it), then distribute to channels that match your buyer:
- Land marketplaces and syndication
- Your email list and peer outreach messages
- Facebook groups, Marketplace, and local community pages
- Instagram reels and carousels
- YouTube walk-through videos (simple is fine)
If you are using concept visuals, keep disclosure clean and follow your MLS rules. Listing Wand supports optional watermarking; see Features. If the listing includes an interior space, also see realistic AI virtual staging for room photos.
Step 6: Handle Inquiries Like A Pro
Fast response matters. When someone asks Is it buildable? do not answer with I think so. Answer with:
- What you know
- What you do not know
- How they can verify
- What you can provide immediately (packet, maps, notes)
If you get repetitive questions, add a short FAQ block to the listing and attach the packet. Use Selling Land FAQ as a starting point.
Common Reasons Land Does Not Sell (And The Fix)
- Pricing mismatch: re-run comps and adjust for access/utilities differences.
- Unclear access: document easements and explain the road situation clearly.
- Weak visuals: replace pretty shots with decision shots (driveway, pad, slope, view).
- No vision: add one concept visual and label it clearly as an artist rendering.
- Incomplete information: publish your packet and answer objections upfront.
FAQ (Short)
Do concept visuals work for land?
Yes, when used ethically. They reduce I cannot picture it friction. See examples on Features and the workflow on How To.
Can I use concept visuals in MLS?
Rules vary by MLS and state. Use clear disclosure and follow local policy. Listing Wand supports optional watermarking; see Features.
What is the fastest way to increase offers?
In most cases: fix price, fix clarity, fix visuals. Start with a better media stack and a clearer packet, then refresh distribution. For a focused marketing guide, use Land Marketing Plan.
Want a shorter, marketing-first version of this guide? Read How To Sell Vacant Land Faster. If you need help with Listing Wand, visit Support.
Note: This guide is informational and is not legal, tax, or financial advice. Always verify land facts and rules with local authorities and professionals.