Land comps are easy to do poorly and surprisingly hard to do well. The biggest mistake is treating land like a house: same neighborhood, similar size, done. For land, the value drivers are different, and the data is often messy.
This page gives you a clean comps process you can defend. For broader pricing strategy, see How to Price Land.
Step 1: Define Your Comp Criteria (Start With These)
Match these first:
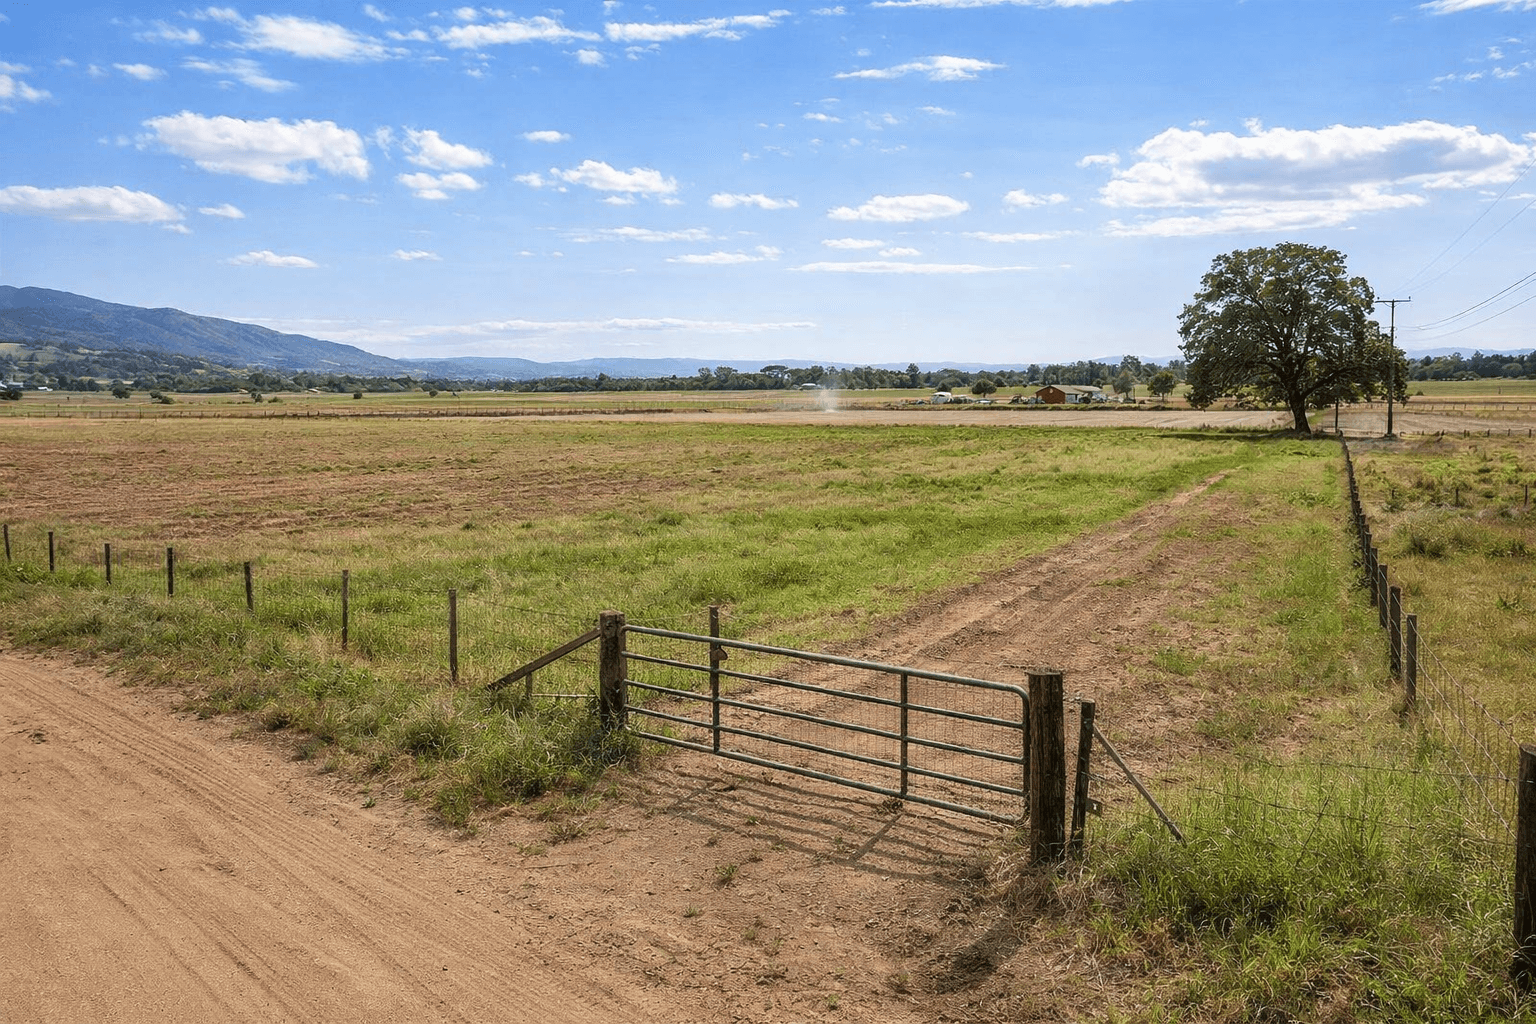
- Access type (public road frontage, private road, easement-only)
- Utilities (power, water, sewer or septic feasibility)
- Buildability (topography, floodplain, wetlands, soil constraints)
- Zoning and restrictions
Then match these:
- Location driver (distance to town, lake, views, amenities)
- Acreage range and shape
- Road frontage
Step 2: Find Comp Candidates (Cast Wide, Then Verify)
Good comp sources vary by market, but the process is consistent:
- Start with sold land that closed recently.
- Add pending/under contract if you can verify details.
- Use active listings only as context, not as proof.
The key: do not trust a comp until you verify the land facts.
Step 3: Verify The Facts That Change Value
Before you use a comp, confirm:
- Does it have legal access?
- Are utilities actually at the road, or just nearby?
- Is it buildable across the parcel or only in a corner?
- Is it in a flood zone, wetland area, or steep terrain?
- Are there recorded restrictions or an HOA?
If you cannot verify a major factor, either remove the comp or heavily discount its usefulness.
Step 4: Normalize The Data (Without Lying To Yourself)
Useful normalization methods:
- Price per acre (best for larger tracts, after usability check)
- Price per square foot (sometimes useful for small lots)
- Price per buildable acre (often the most honest, if you can estimate it)
Do not overfit. A simple, defensible method beats a complex spreadsheet built on uncertain inputs.
Step 5: Adjust Comps Using The Big Movers
Common adjustment categories:
- Access: paved vs rough, public vs private, recorded easement vs none
- Utilities: power at road, well, sewer, septic feasibility
- Topography: flat pad vs slope, rock, drainage
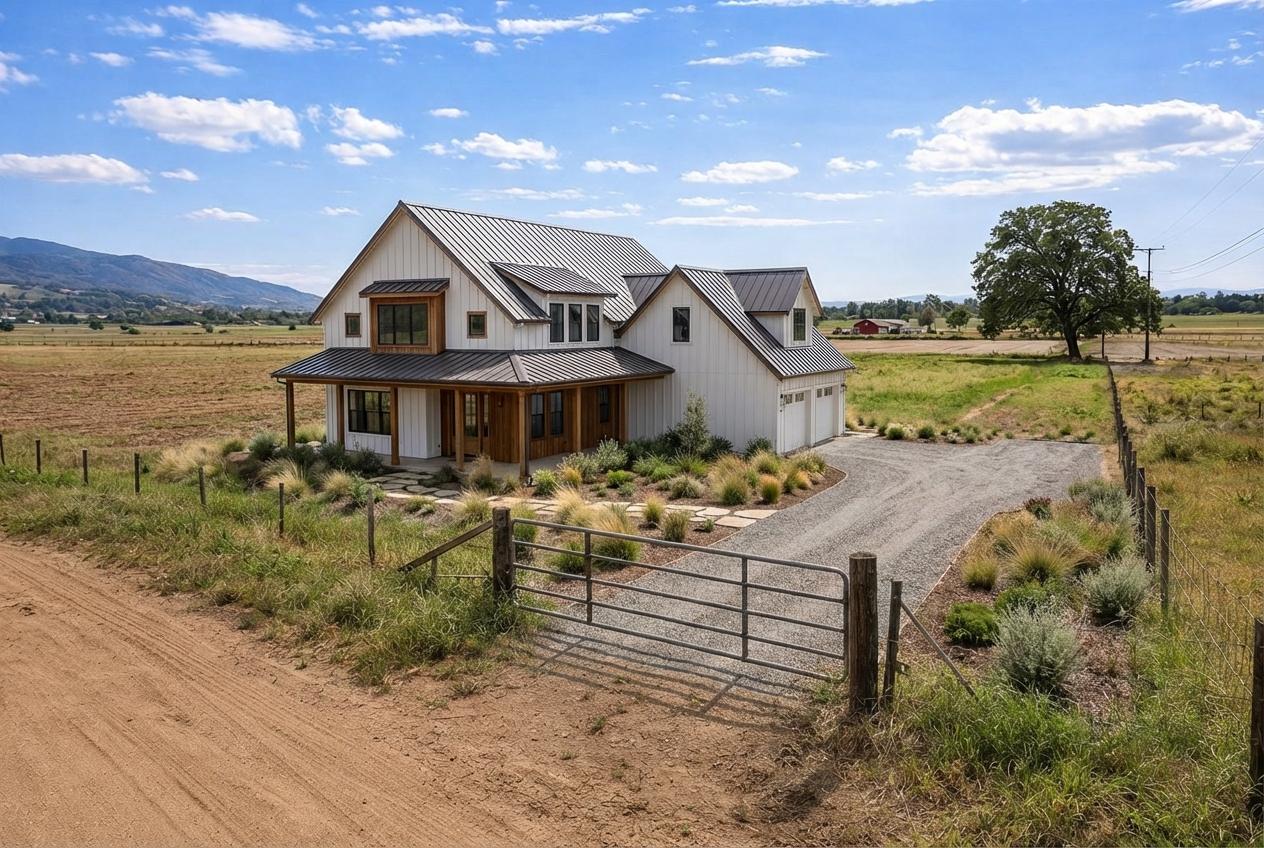
- Restrictions: HOA, CC&Rs, minimum building size
- Premium features: views, water frontage, mature trees
If you want a simple rule: adjust for access and utilities first, then topography, then nice-to-haves.
A Simple Comp Worksheet (Copy And Reuse)
| Comp | Status | Miles | Acres | Access | Power | Water/Sewer | Topography | Restrictions | Notes | Price |
|---|---|---|---|---|---|---|---|---|---|---|
| #1 | Sold | |||||||||
| #2 | Sold | |||||||||
| #3 | Sold |
If you want to score confidence, add a column: high, medium, low. Drop low confidence comps first.
Step 6: Turn Comps Into A Range (Not A Single Number)
Most land should be priced with a range, then you choose where to list:
- Top of range: only if you can justify it with stronger presentation.
- Middle of range: best for steady markets.
- Bottom of range: best for speed.
If you list at the top of range, tighten marketing: better maps, better photos, and a concept visual that makes best use obvious. See How To Sell Vacant Land Faster.
Step 7: Defend Your Price With Clarity
When a buyer questions your price, show:
- A simple comp table
- A clear access and utility comparison
- One or two maps or photos that prove the key value driver
- If relevant, one concept visual labeled as an artist rendering (optional)
If you are using concept visuals, keep disclosure clean. Listing Wand supports optional watermarking; see Features.
Next: estimate a starting range using Land Pricing Calculator, then refine your listing marketing with Land Marketing Plan.


